> ## Documentation Index
> Fetch the complete documentation index at: https://moengage-partner-guide.mintlify.site/llms.txt
> Use this file to discover all available pages before exploring further.
# Paperplanes
# Introduction
[Paperplanes](https://flypaperplanes.co.uk/) is a direct mail automation platform that enables you to run more customer-centric and profitable direct mail campaigns.
# Use cases
Use the Paperplanes and MoEngage connectors to send your customers direct mail such as letters, postcards, and self-mailers. Running direct mail like a digital channel means moving away from mass mailings and leveraging the channel as part of your (digital) customer journeys. The benefits of a modern approach to direct mail are:
* Increased conversion rates via increased relevance, additional use cases, easier A/B testing, and cross-channel effects
* Reduced effort via automation and an end-to-end solution
* Reduced cost via frame contracts and cost transparency
# Integration
**Prerequisites**
1. Ensure you have access to your Paperplanes dashboard.
2. Ensure that you have your Paperplanes API and secret key. Contact Paperplanes and have them generate an API key and secret for you.
To integrate with Paperplanes, use the Paperplane APIs to send recipient data to the MoEngage connectors.
## Step 1: Create connector campaign on MoEngage
To create a connector campaign on MoEngage,
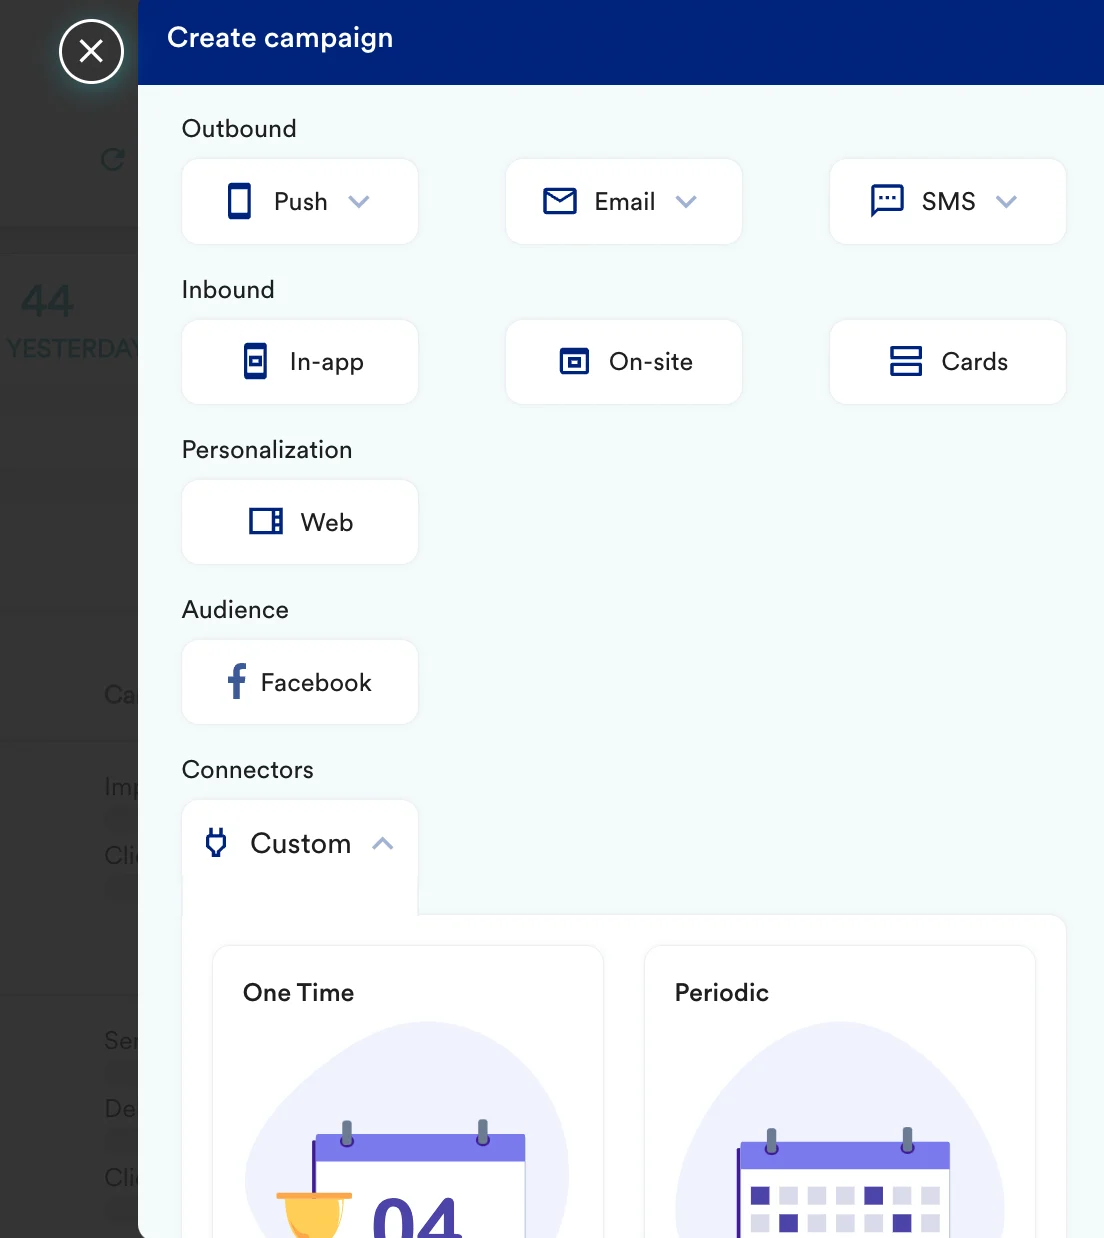
1. Navigate to Create Campaign >> Connectors >> Custom
 2. On step 2 of the campaign, select -
#### a) URL details
| Key | Value |
| ----------- | ---------------------------------------------------------------------------------------- |
| Method | POST |
| Webhook URL | [https://api.paperplaneslive.com/api/submit](https://api.paperplaneslive.com/api/submit) |
| URL params | -- |
#### b) Headers
Add the following two headers
| Key | Value |
| ---------- | ---------------------- |
| api-key | `` |
| api-secret | `` |
#### c) Request Body
In the following request body, you can use any personalization attributes and build a custom request template. Select Raw and enter the following-
```text theme={null}
{
"DestinationListId": 0,
"Records": [{
"CustomerID": "...",
"first_name": "...",
"last_name": "...",
"Address1": "...",
"Address2": "...",
"Address3": "...",
"Address4": "...",
"Address5": "...",
"Postcode": "...",
"AdditionalData": {}
}]
}
```
You can use personalisation using @ to select specific user/event attributes.
## Step 3: Test your configuration
At this point, your campaign should be ready to test and send. You can also test your connector configuration using the Test functionality available on Step 2 of Create Connector Campaign
2. On step 2 of the campaign, select -
#### a) URL details
| Key | Value |
| ----------- | ---------------------------------------------------------------------------------------- |
| Method | POST |
| Webhook URL | [https://api.paperplaneslive.com/api/submit](https://api.paperplaneslive.com/api/submit) |
| URL params | -- |
#### b) Headers
Add the following two headers
| Key | Value |
| ---------- | ---------------------- |
| api-key | `` |
| api-secret | `` |
#### c) Request Body
In the following request body, you can use any personalization attributes and build a custom request template. Select Raw and enter the following-
```text theme={null}
{
"DestinationListId": 0,
"Records": [{
"CustomerID": "...",
"first_name": "...",
"last_name": "...",
"Address1": "...",
"Address2": "...",
"Address3": "...",
"Address4": "...",
"Address5": "...",
"Postcode": "...",
"AdditionalData": {}
}]
}
```
You can use personalisation using @ to select specific user/event attributes.
## Step 3: Test your configuration
At this point, your campaign should be ready to test and send. You can also test your connector configuration using the Test functionality available on Step 2 of Create Connector Campaign
 Check the Paperplanes dashboard once you test the configuration or trigger the campaign.