Sender Configuration
To configure a WhatsApp number in the MoEngage Dashboard, perform the following steps:- Go to Settings > WhatsApp > Sender configuration.
- Choose Wisely from the left menu and click + Sender.
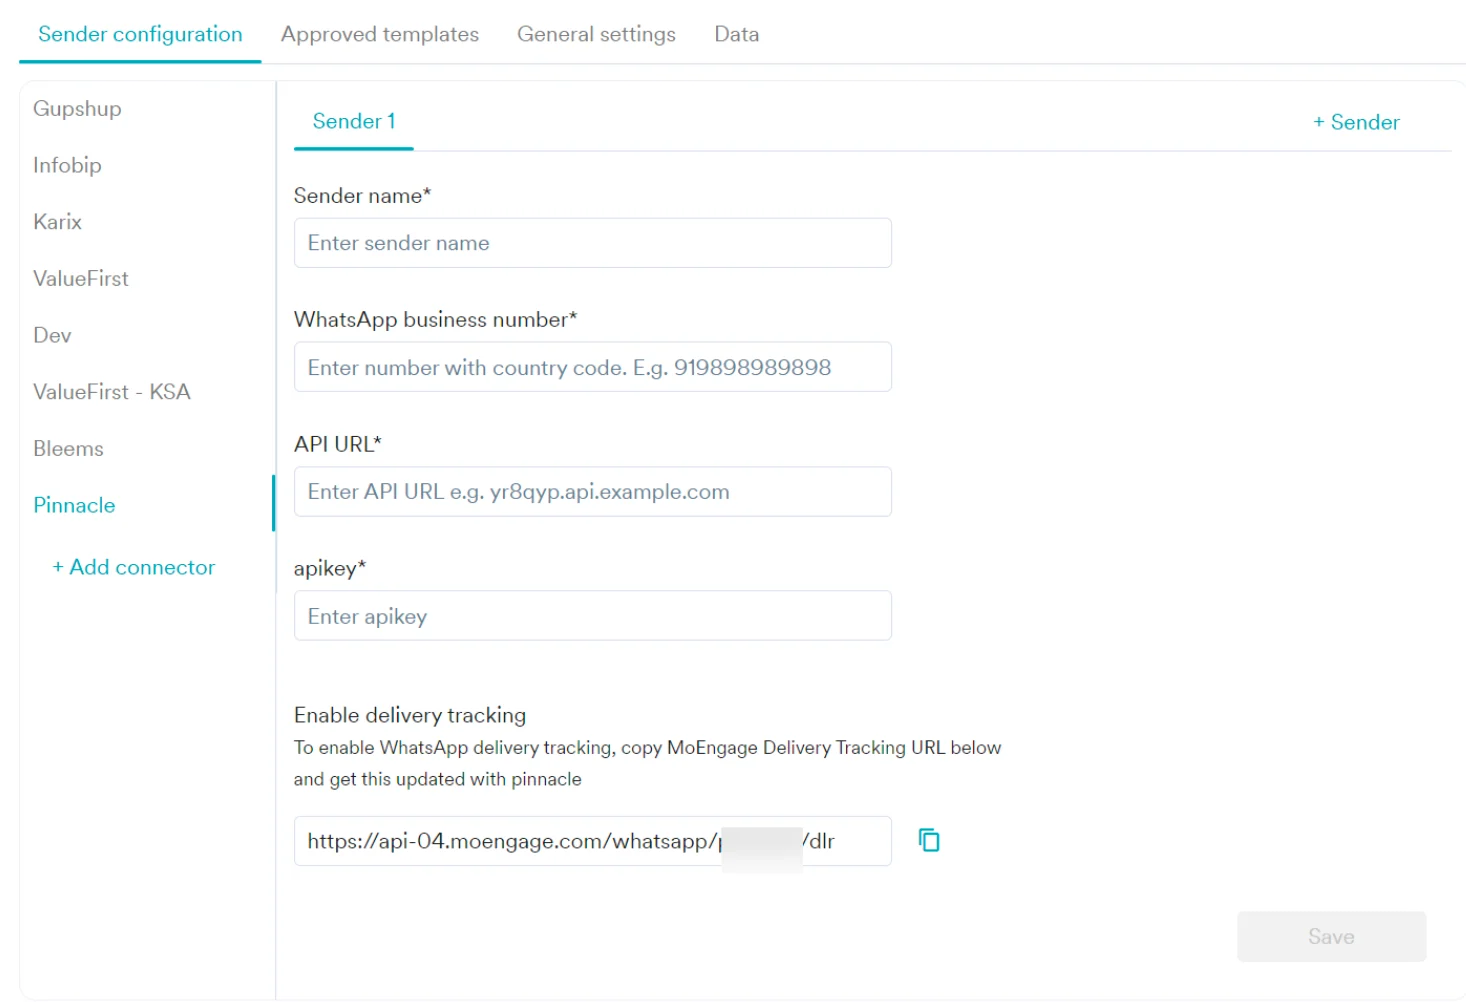
- Enter the following details:
| Field Name | Description |
|---|---|
| Sender name | This field denotes the name you want to provide to the sender profile. This would be available in the sender so that you can recognize it easily while using it to create a campaign inside MoEngage. The sender name should be between five and 50 characters. This is a mandatory field. |
| WhatsApp business number | This field denotes the phone number registered with WhatsApp (directly or through Wisely) using which you want to send out WhatsApp messages to your users. On Wisely, you can find sender details at Channels _ > _WhatsApp _ > _Business Profiles*.* This is a mandatory field. |
| API URL | The base endpoint URL of WhatsApp. This is a mandatory field. The API URL for Wisely is: https://moeng.wiselyapi.com/moeng/whatsapp/message |
| apikey | This field indicates the API key generated from the Wisely account and is specific to the WhatsApp number. This is a mandatory field. Refer to the following points to view the API key in the Wisely account:
|
Delivery Tracking
To track the delivery of your WhatsApp messages inside MoEngage, you must copy the MoEngage Delivery Tracking URL, and share it with Wisely, and get it updated on their side. You should be able to see the URL as shown below: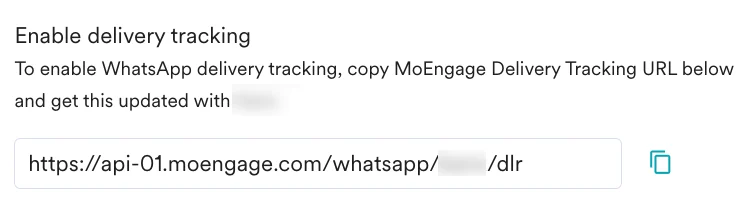
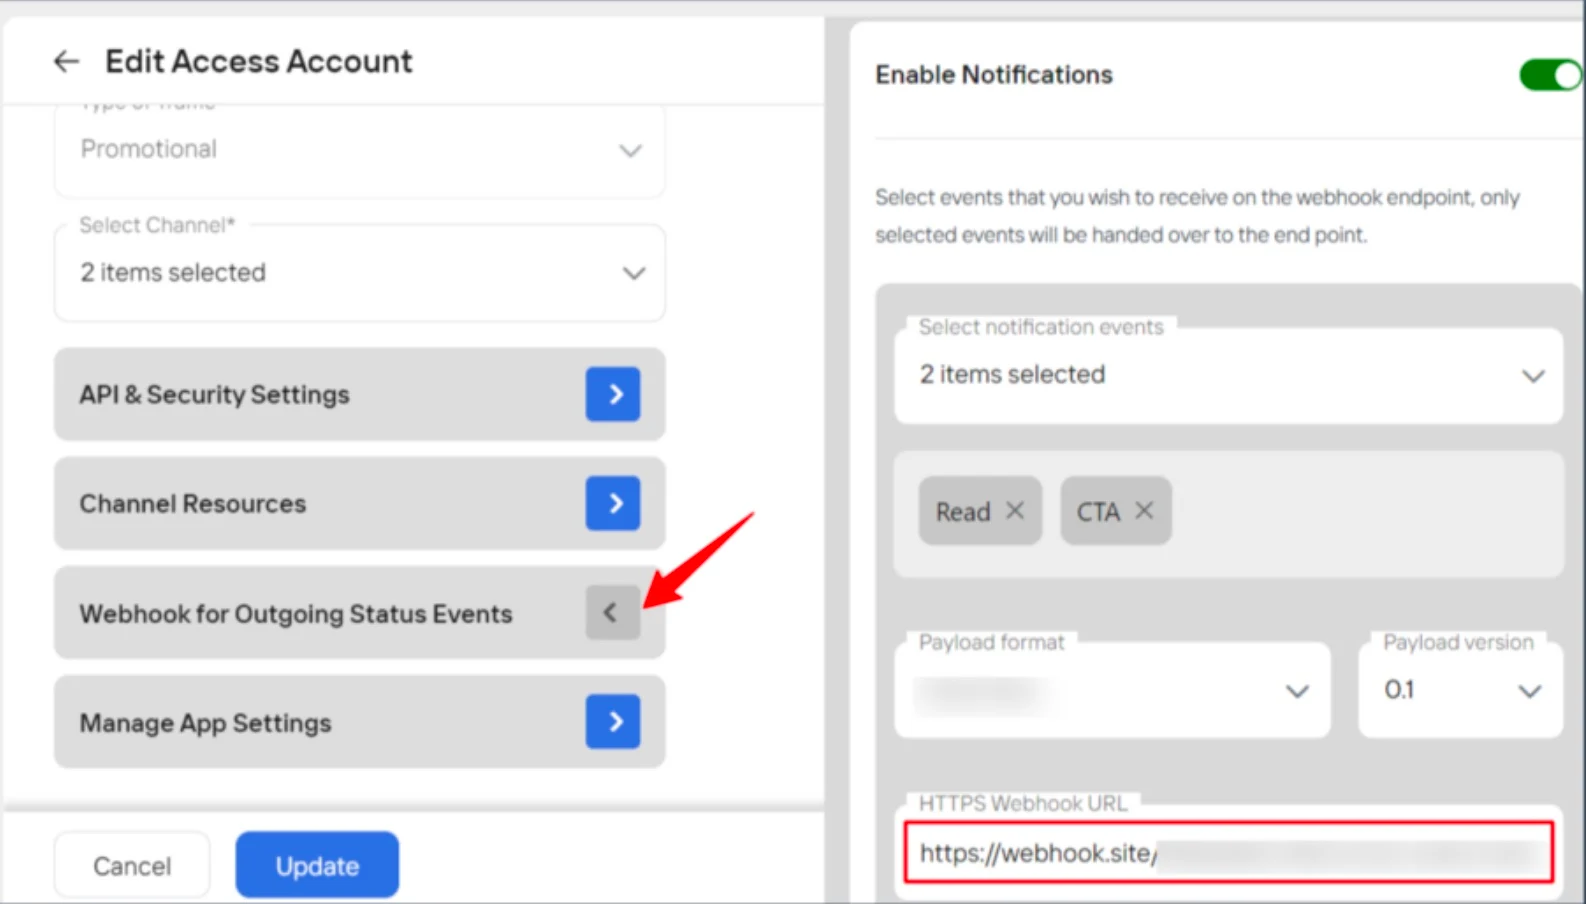
Add MoEngage Webhook in Wisely
- Log in to your Wisely account with valid credentials.
- Click API from the left menu.
- Locate and select the Access Account where you want to place the webhook URL.
- Click the stencil icon (
 ) next to the access account.
 - Select Webhook for Outgoing Status Events and place the delivery tracking URL of MoEngage in the HTTPS Webhook URL field.
Add the MoEngage webhook to an access account with WhatsApp configured as one of the channels.
- Click Update.
Upon successfully adding webhook, you will see the “Access Account updated successfully” message.
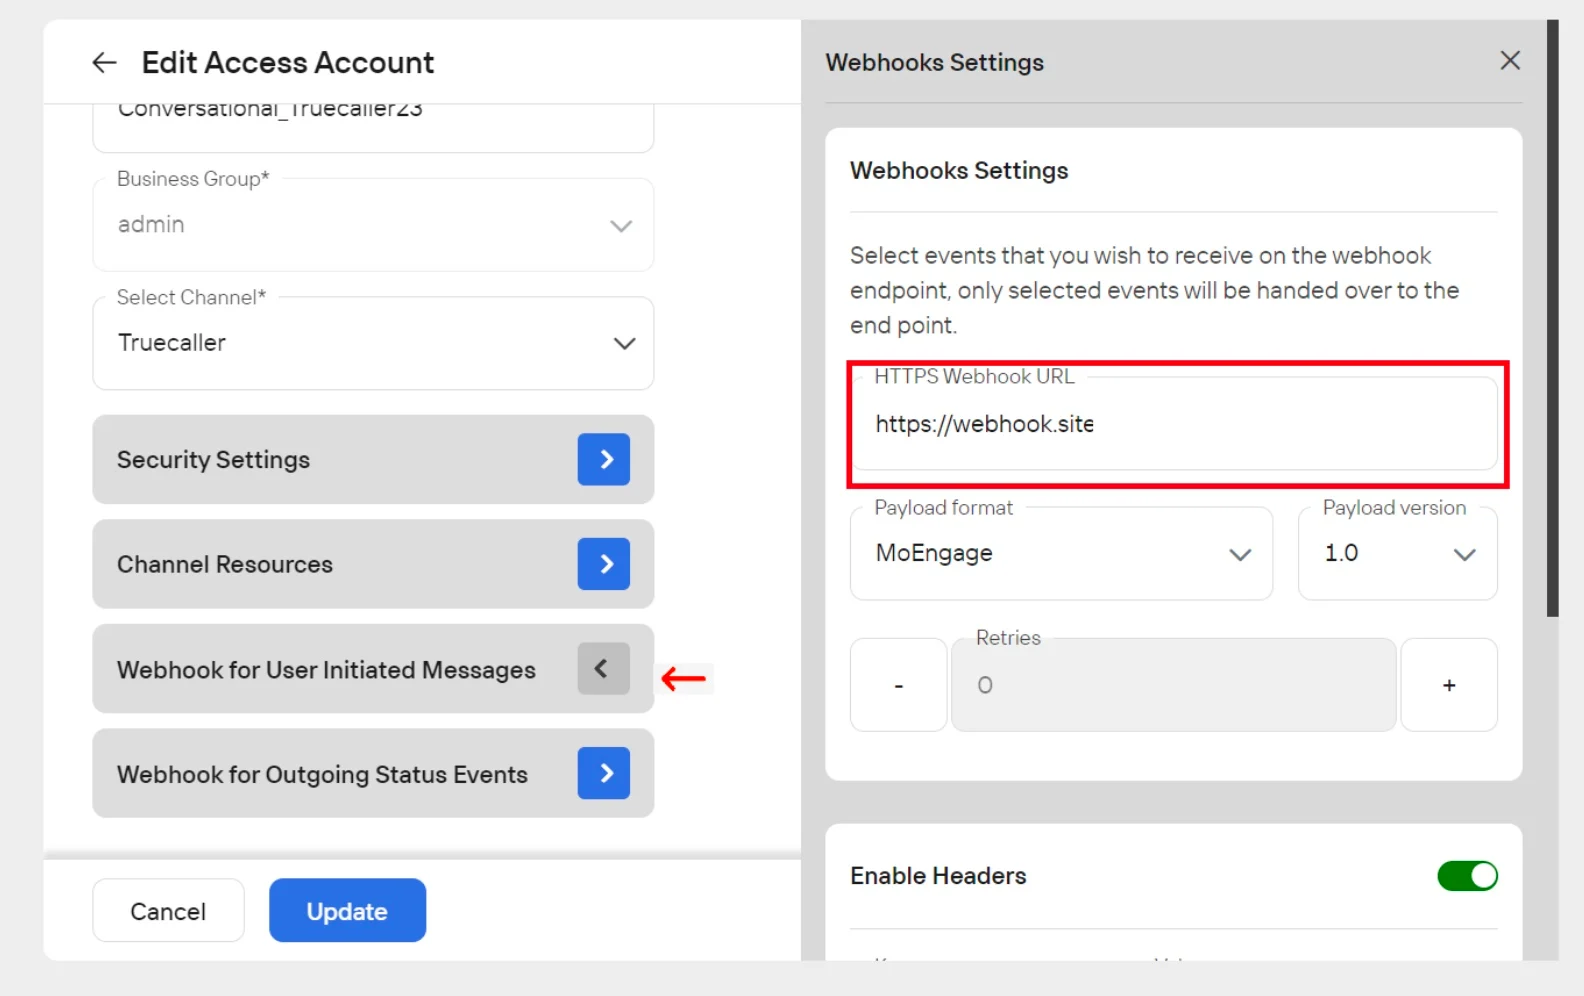
Add Delivery Tracking for User-Initiated Messages
- Log in to the Wisely platform with valid credentials.
- Click API from the left menu.
- Locate and select the Access Account where you want to place the webhook URL.
- Click the stencil icon ( ) next to the access account.
- Select the Webhook for User Initiated Messages and place the MoEngage webhook URL in the HTTPS Webhook URL field.
Webhooks for user-initiated messages can only be added to access accounts that are of the Conversational type.
- Click Update.
Upon successfully adding webhook, you will see the “Access Account updated successfully” message.