Introduction
MyPostcard , a leading global postcard app, empowers you to execute direct mail campaigns with ease, providing a seamless and profitable way to connect with your customers. Use the MyPostcard and MoEngage integration to effortlessly send your customers print mailings.Use cases
To elevate your direct mail campaigns, it’s crucial to move beyond traditional mass mailings and integrate print mailing seamlessly into your workflows. This approach allows you to reach specific customers who have opted out of your email newsletters or whose emails are marked as spam. With MyPostcard, you can effortlessly send print mailing campaigns directly through MoEngage.- Build intuitive workflows incorporating print mail as a powerful new channel, without any technical expertise.
- Unlock the potential of personalized print mailings with a few simple steps.
- Benefit from a straightforward implementation that is backed by personalized support from a dedicated team.
Integration
Ensure you have access to
- MyPostcard B2B account.
- B2B API key and credentials- find your API Key and the credentials in the MyPostcard B2B Admin Tool
- Setup print mailing campaign in MyPostcard B2B tool.
Step 1: Create connector campaign on MoEngage
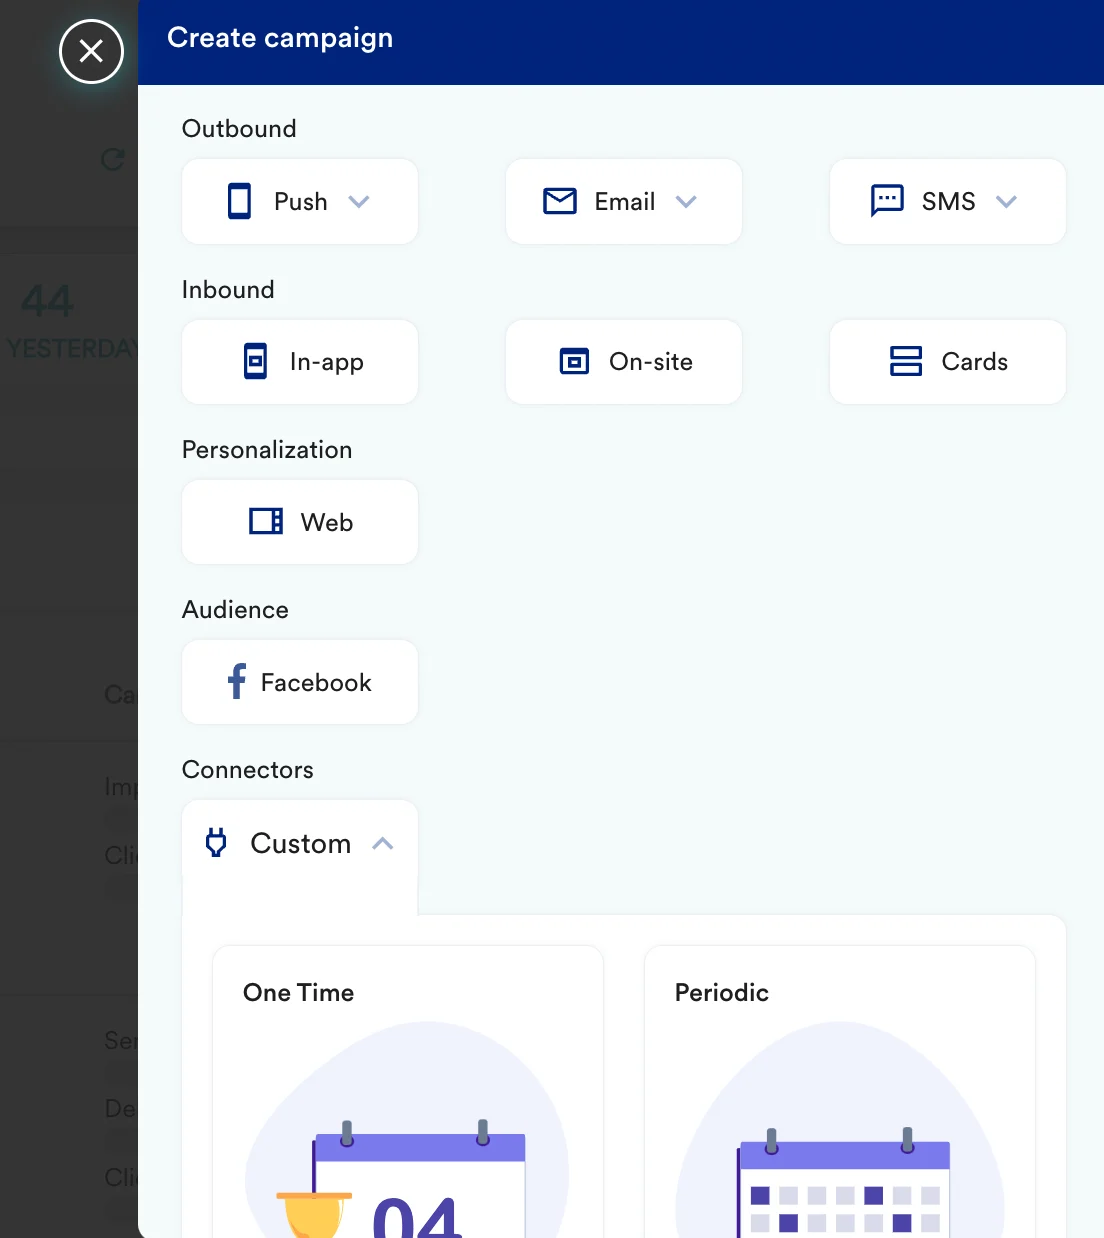
To create a connector campaign on MoEngage,- Navigate to Create Campaign >> Connectors >> Custom
- On step 2 of the campaign, select -
a) URL details
b) Headers
Add the following two headersc) Request Body
Copy the request body displayed in the B2B Admin Tool, then fill in the placeholders with content using any MoEngage jinja personalization tags.Step 3: Test your configuration
At this point, your campaign should be ready to test and send. You can also test your connector configuration using the Test functionality available on Step 2 of Create Connector Campaign