Introduction
Crowdin is a cloud-based software for localization management. Crowdin streamlines the localization of your app’s user interface, website, marketing, and support content so you can deliver content in multiple languages.MoEngage and Crowdin
The MoEngage and Crowdin integration lets you translate email templates and content blocks. You can also synchronize content and creatives from your MoEngage account to your Crowdin project and push translations back to MoEngage.Integration
Prerequisites
- A Crowdin account.
- Access to a Crowdin translation project. You can sign up and create a project from the Crowdin dashboard.
Step 1: Set up your MoEngage app in Crowdin or Crowdin Enterprise
Crowdin
- Go to the MoEngage app in the Crowdin marketplace.
- Click Install to add it to your account.
- Open the project you created for MoEngage content localization.
- Navigate to Settings > Integrations.
- In the Applications section, click the MoEngage app.
- In the dialog box, provide your MoEngage credentials (data center, workspace ID, and Data API key):
Field Description App ID Your MoEngage workspace ID. Available at Settings > Account > APIs > Workspace ID. Data API ID Your MoEngage Data API ID. This is the same as the workspace ID. Data API Key Your MoEngage Data API key. Available at Settings > App Settings > APIs > API Keys > Data. Data Center Name Check your MoEngage URL: https://dashboard-OX.moengage.com. Based on the dashboard value (DC-01,DC-02,DC-03, orDC-04), set the matching value in Crowdin. For more information, see Data Centers in MoEngage.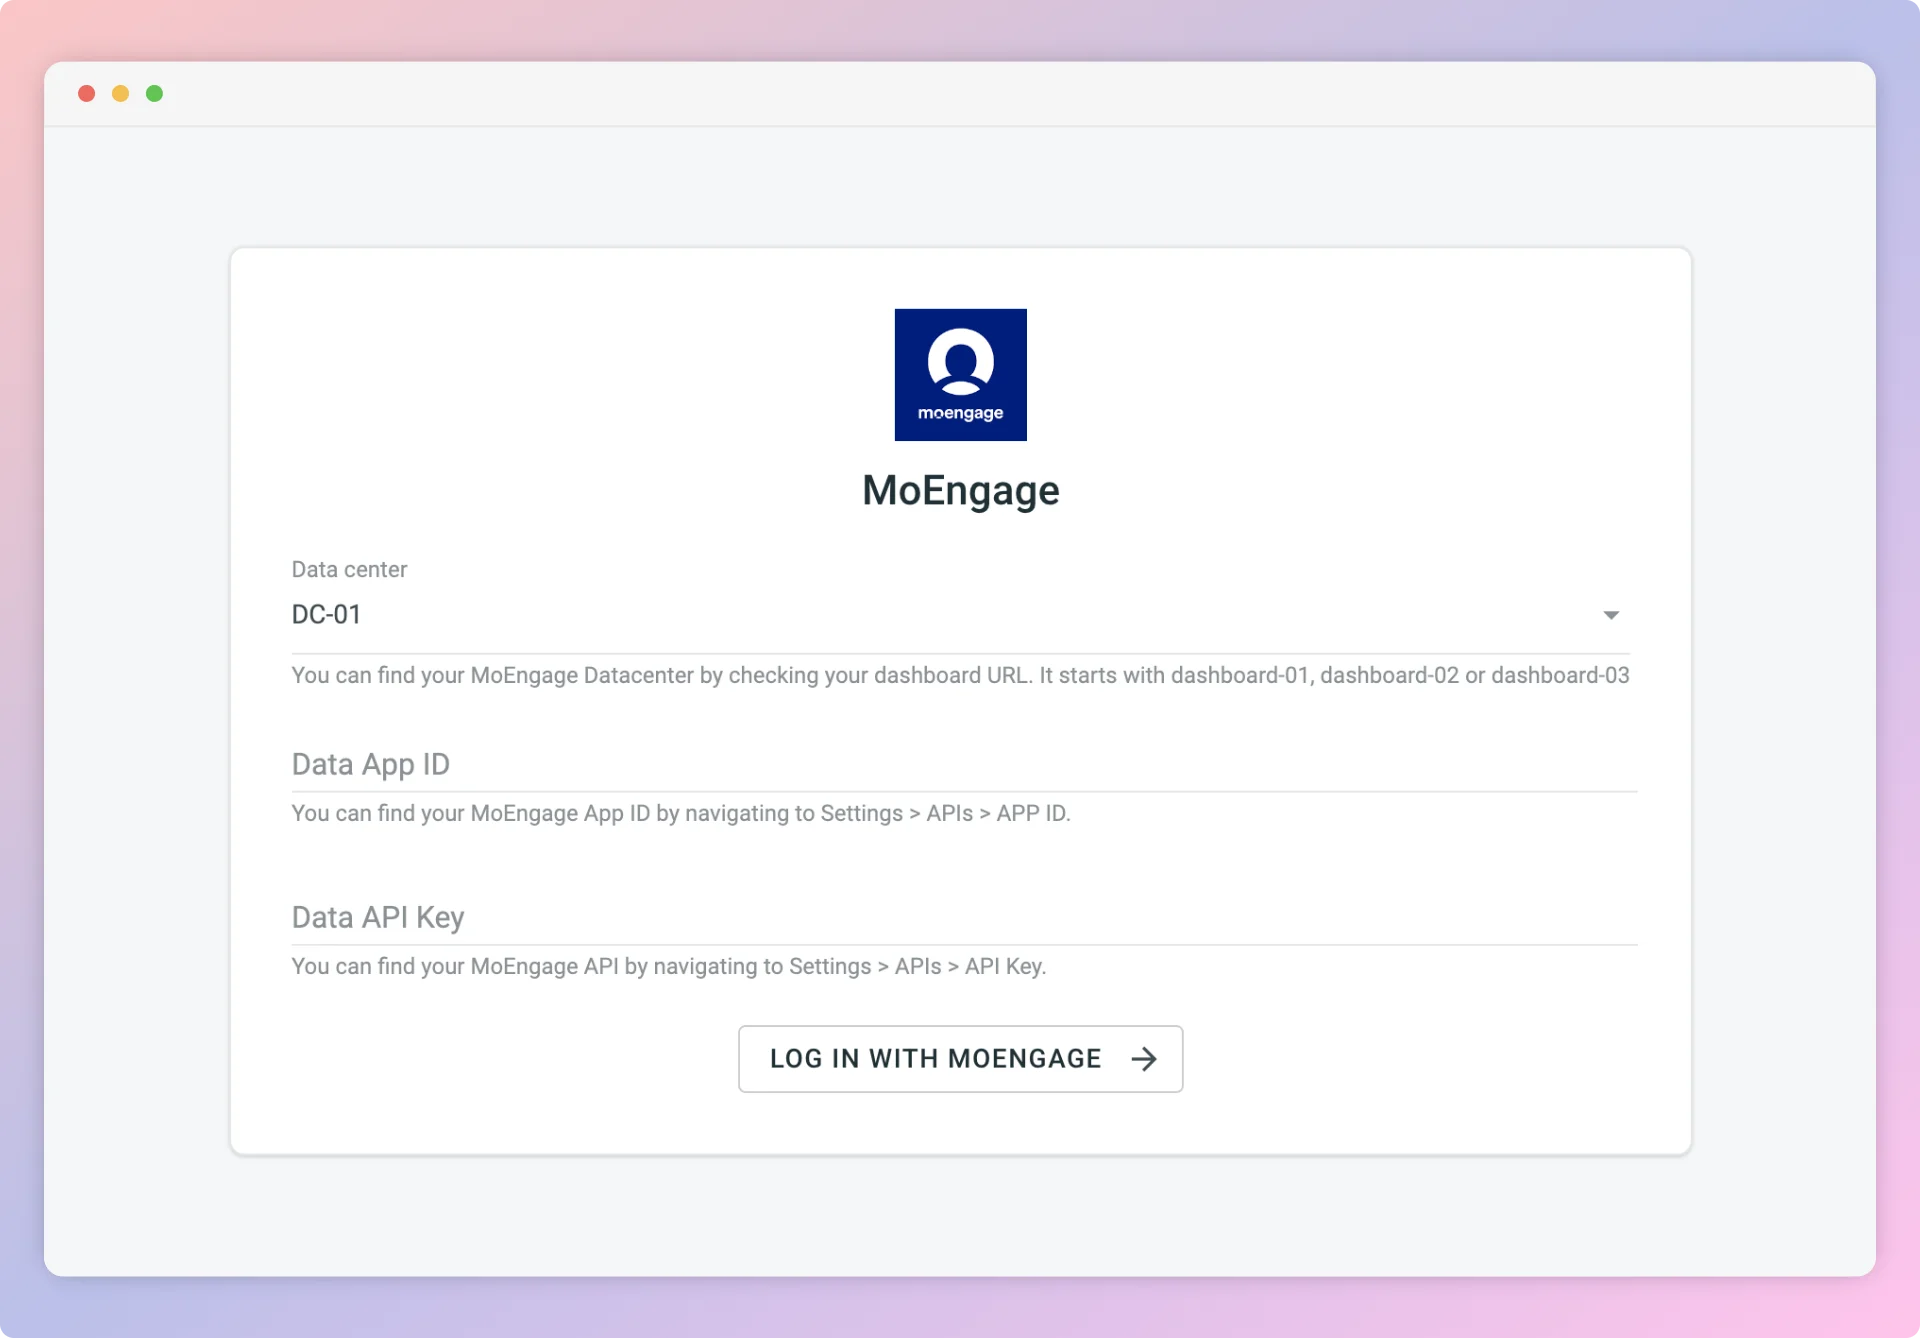
- Click Log in with MoEngage.
Crowdin Enterprise
- Navigate to Workspace > Marketplace.
- Click Install on the MoEngage app to add it to your organization.
- Open the project for your MoEngage content localization.
- Navigate to Applications > Custom.
- Click the MoEngage app.
- In the dialog box, provide your MoEngage credentials (data center, workspace ID, and Data API key):
Field Description App ID Your MoEngage workspace ID. Available at Settings > Account > APIs > Workspace ID. Data API ID Your MoEngage Data API ID. This is the same as the workspace ID. Data API Key Your MoEngage Data API key. Available at Settings > App Settings > APIs > API Keys > Data. Data Center Name Check your MoEngage URL: https://dashboard-OX.moengage.com. Based on the dashboard value (DC-01,DC-02,DC-03, orDC-04), set the matching value in Crowdin. For more information, see Data Centers in MoEngage. - Click Log in with MoEngage.
Step 2: Share content between Crowdin and MoEngage
A. Send content from MoEngage to Crowdin
To import content for translation from MoEngage:- Open the MoEngage integration.
- In the MoEngage section (right panel), select the files to translate.
- Click Sync.
B. Send translations from Crowdin to MoEngage
- Open the MoEngage integration.
- In the left section, select the files to sync to MoEngage.
- Click Sync to MoEngage.