Introduction
Snowplow is an open-source, event analytics platform. Snowplow empowers organizations to generate trustworthy, first-party Customer Data to power Marketing and Advertising performance.MoEngage × Snowplow
With the MoEngage and Snowplow integration, you can forward the events captured on Snowplow to MoEngage via GTM server-side tagging, without writing any code on your website. The MoEngage GTM Tag allows you to:- Control the data you want to ingest into MoEngage
- Have the flexibility to pick, choose, and remap Snowplow attributes to MoEngage attributes
- Update user attributes in MoEngage with an event
Use Cases
- Create dynamic user segments using Snowplow’s behavioral data collection
- Make use of Snowplow’s extensive data points to create hyper-personalized customer flows using omnichannel campaigns.
Integration
Prerequisites
- Ensure you have a Snowplow pipeline already set up.
- Ensure you have GTM Server Side deployed with the Snowplow Client for GTM SS already set up.
- Ensure you have a Google Tag Manager account with permission to import templates and add new tags.
Step 1: Download and import the MoEngage GTM Tag for Snowplow

- Download the MoEngage GTM tag for Snowplow (right-click and Save).
- To import the tag into your GTM workspace, go to the Templates screen from the left-side menu.
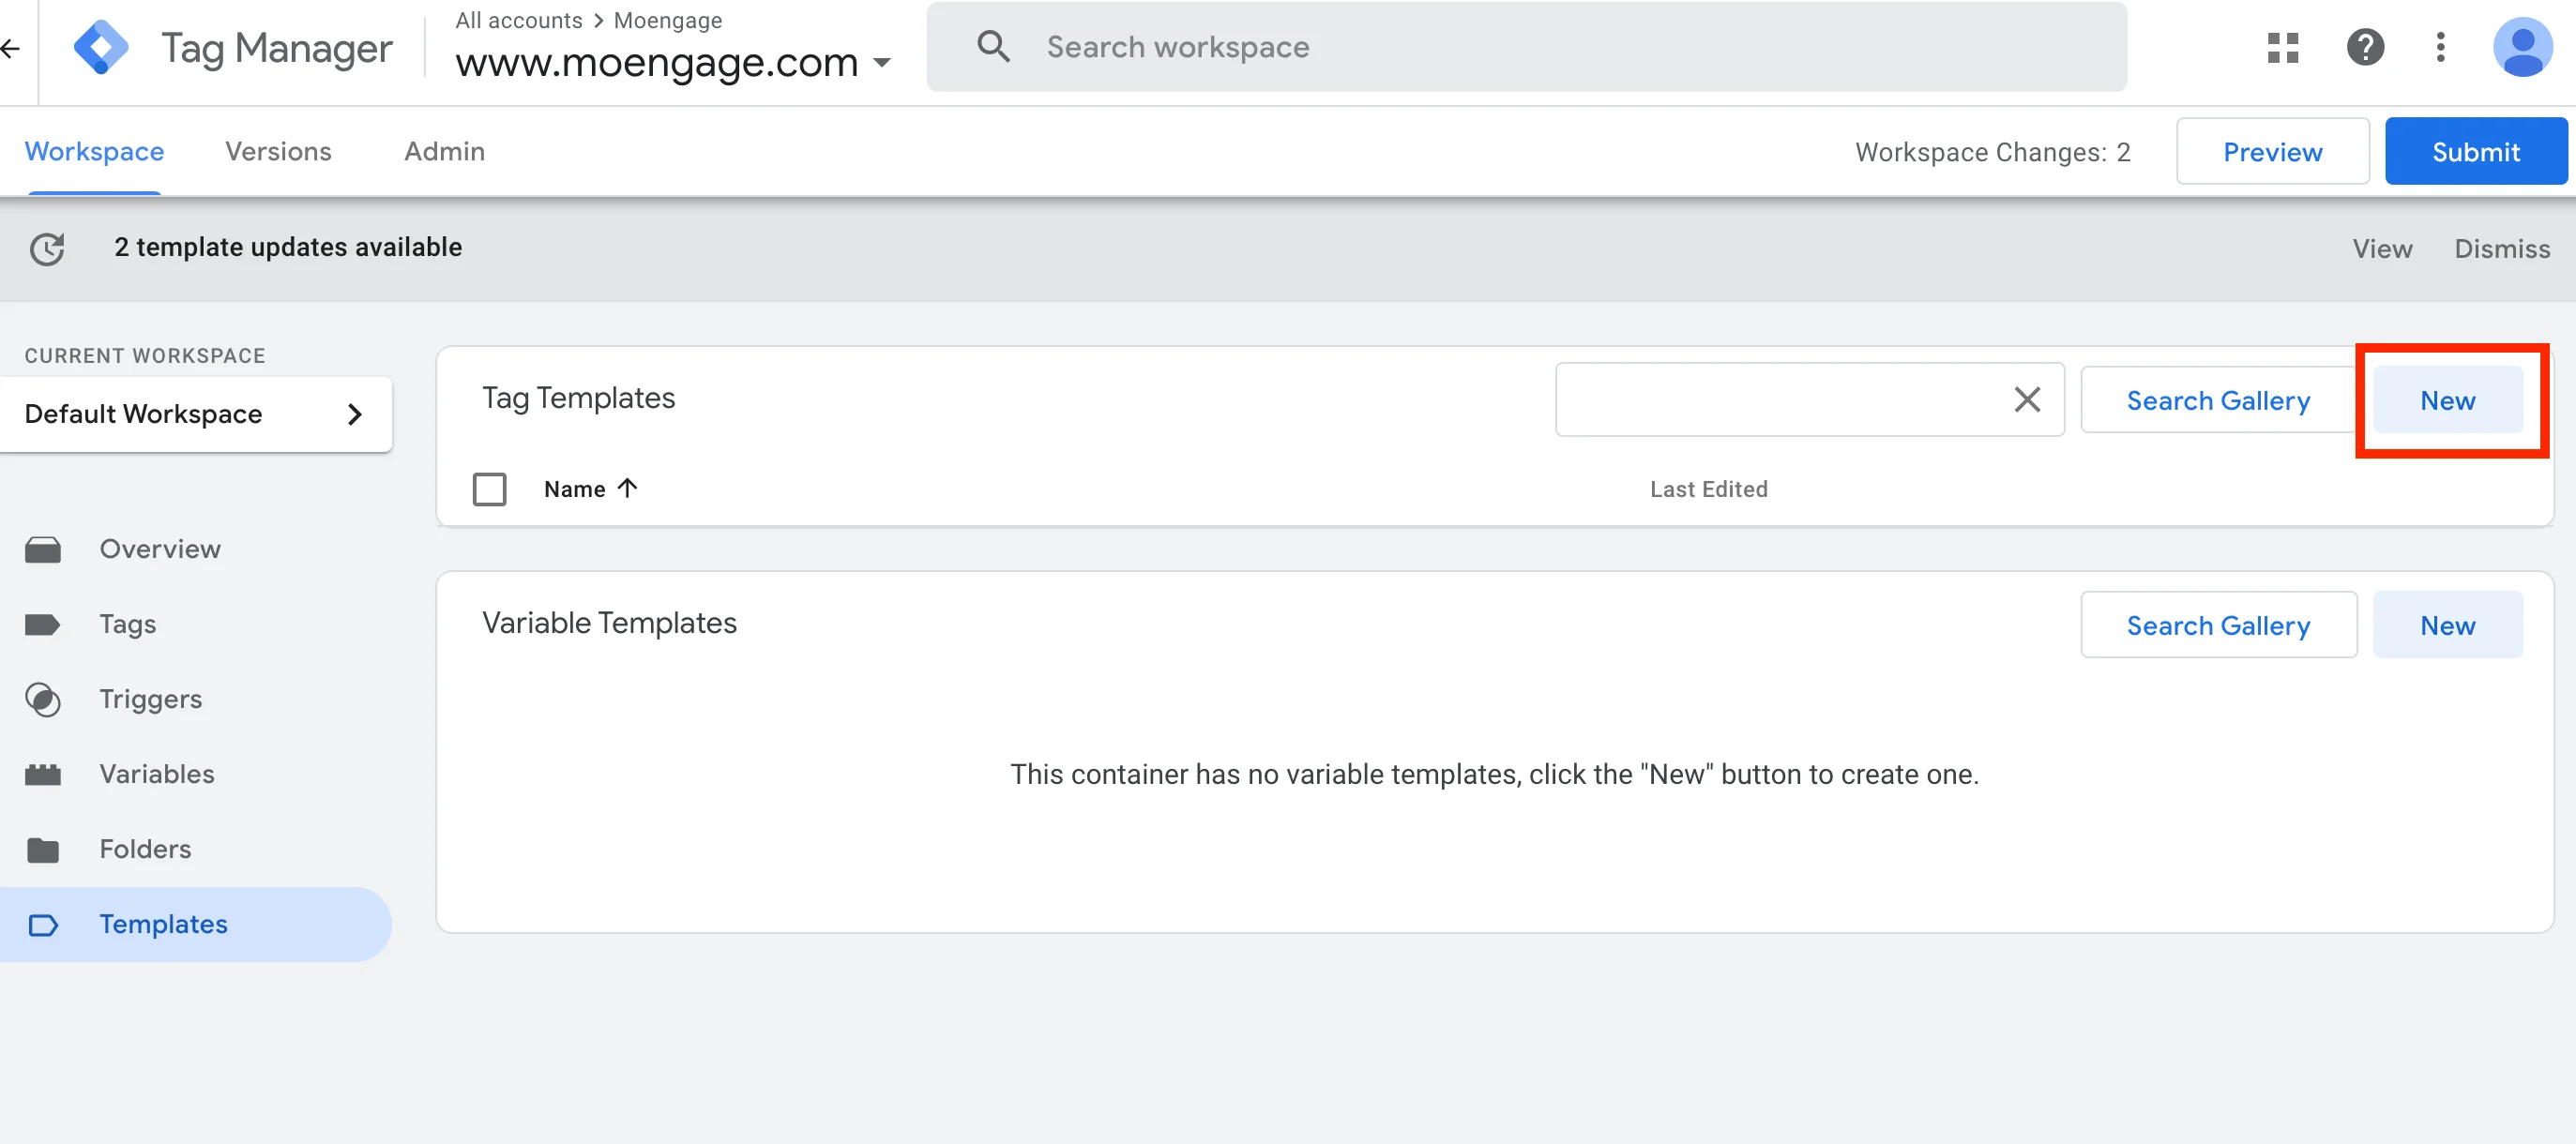
- Under Tag Templates, click the New button > Actions menu (top-right) > Import. Select the MoEngage tag file you just downloaded.
- Click Save when you see the MoEngage logo on the left.
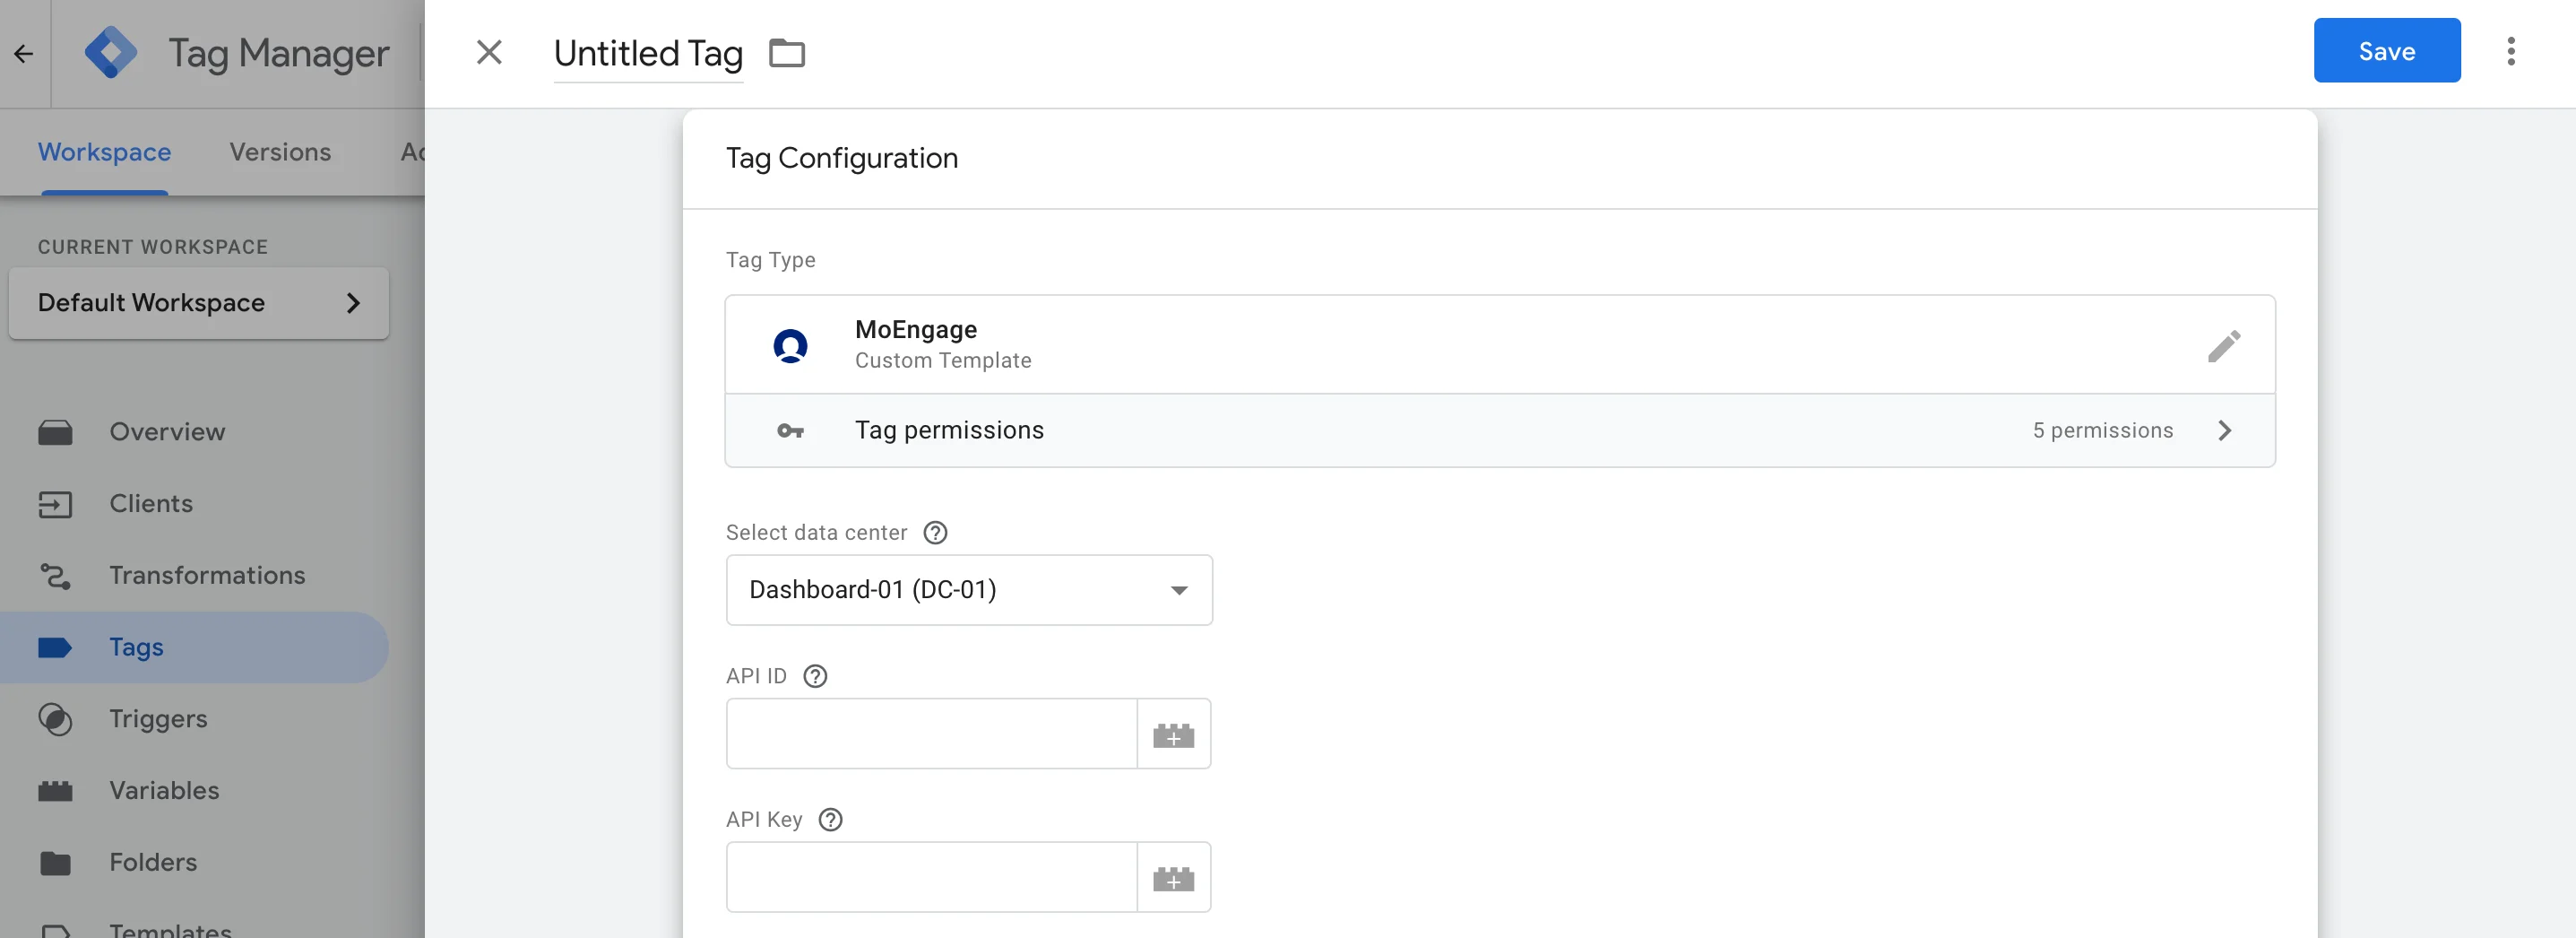
Step 2: Select and configure the MoEngage Tag
The MoEngage Tag template lets you forward Snowplow events, and update custom as well as standard user attributes inside MoEngage.- On your GTM dashboard, click Tags > New.
- Click Tag Configuration, and under Custom look for the MoEngage Tag.
- Setup the tag according to your needs.
User Identifier
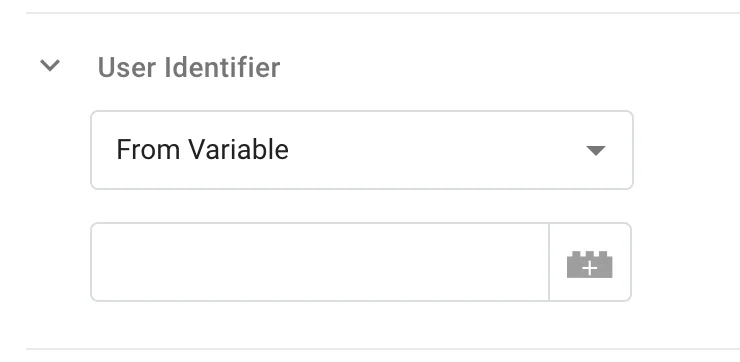
- From Variable: Select this option if you want to use a GTM Variable as the user identifier value.
- From Event Property: Select this option if you want to extract the user identifier from an event property. Enter the attribute key here, for example,
user_id. Note that we can only pick values only from the root level keys. If you want to extract values of nested keys, please use GTM Variables and then select “From Variable” option.
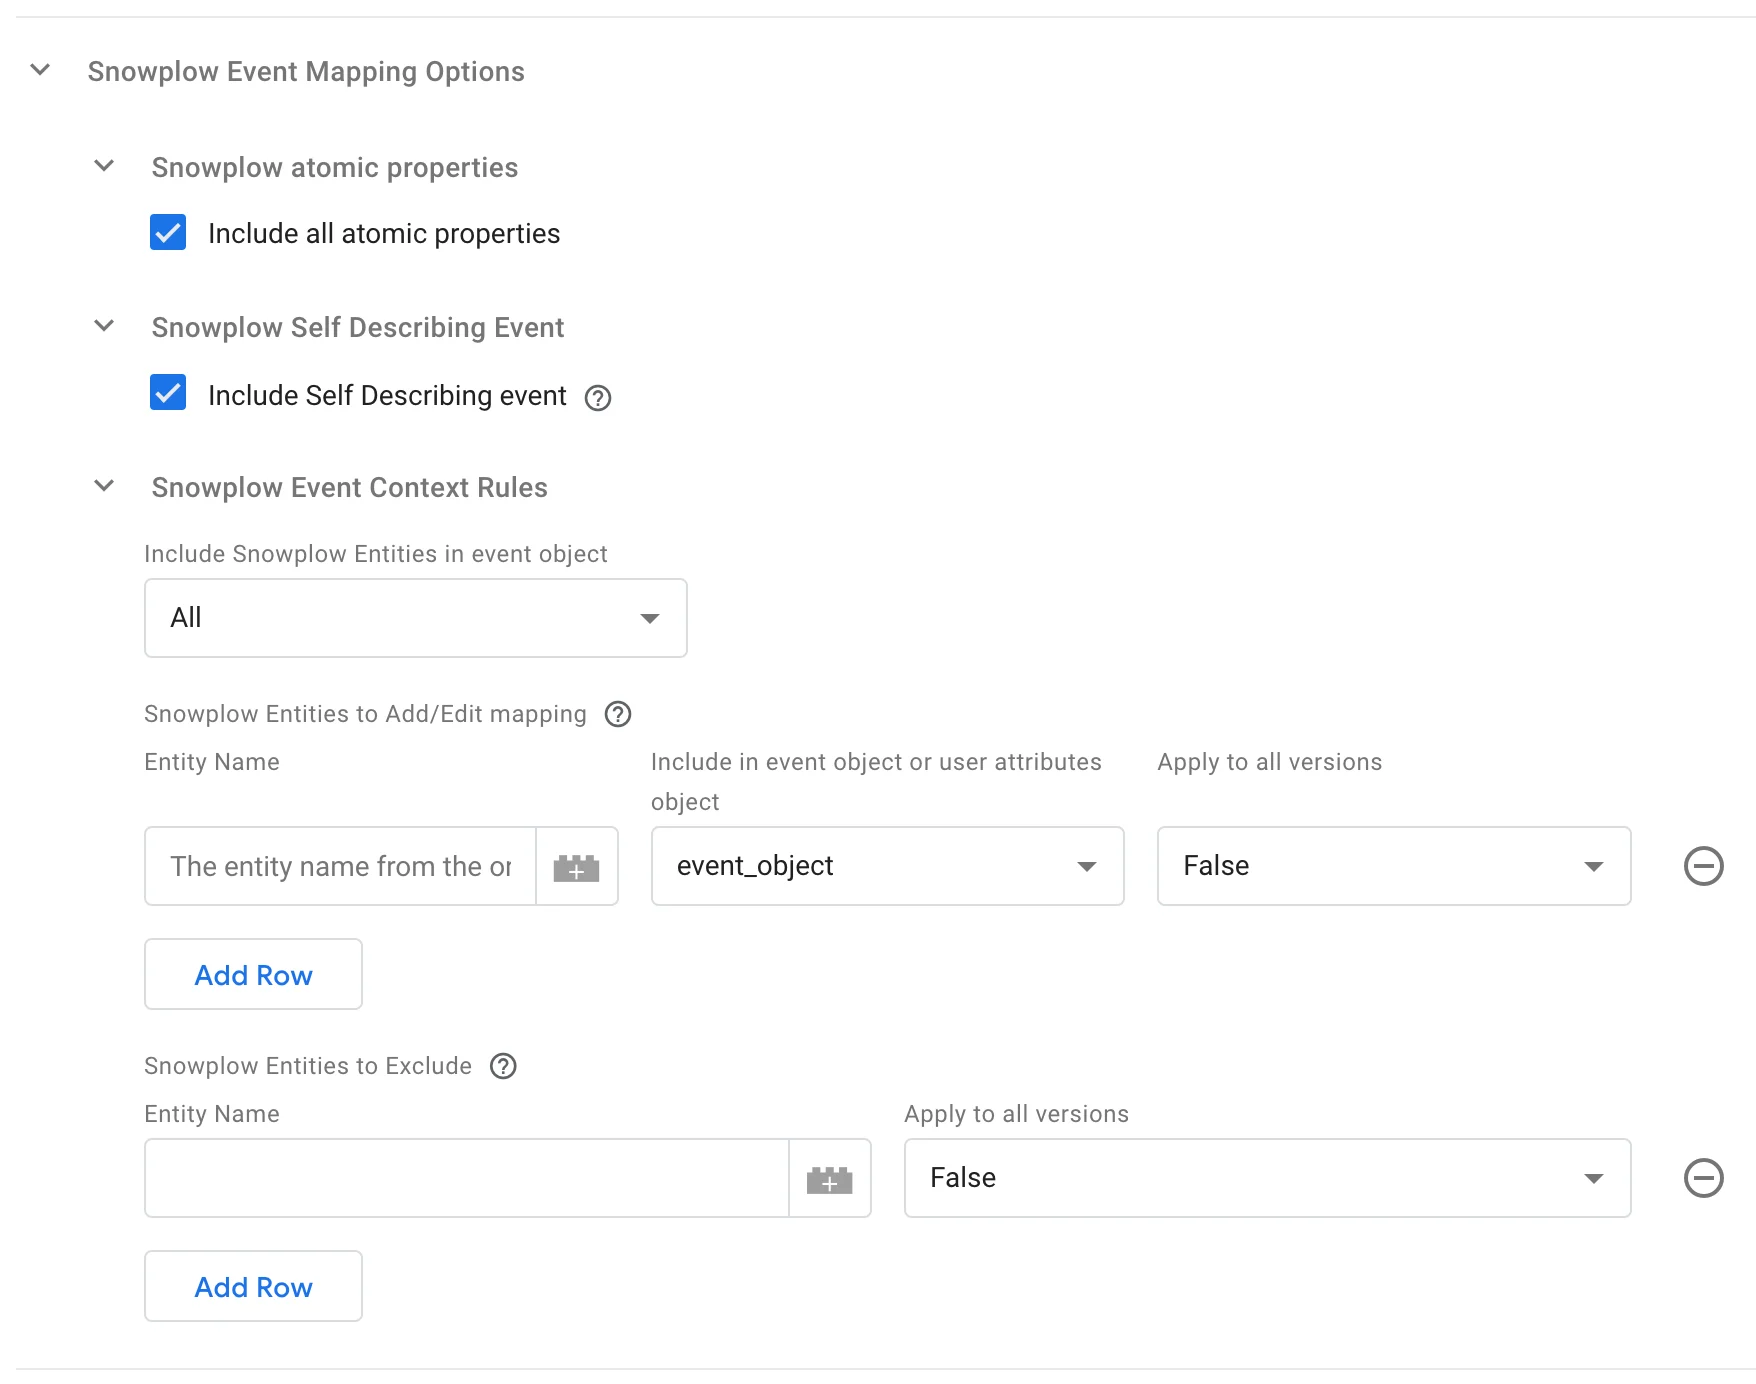
Snowplow Event Mapping Options
Additional Event Mapping Options

Additional Event Data

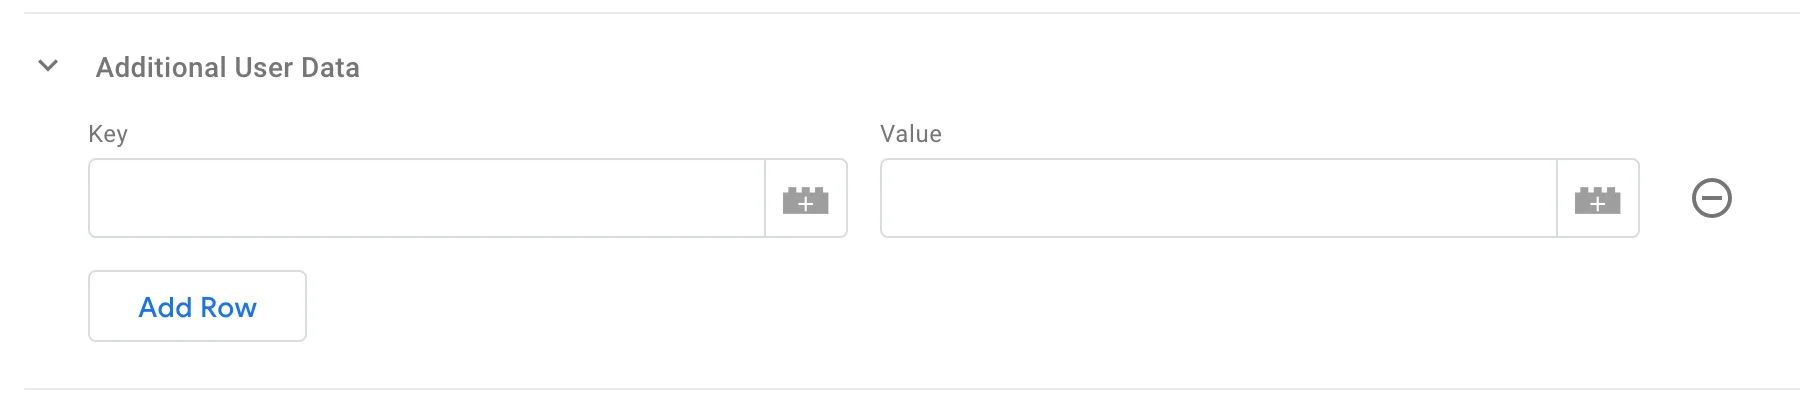
Additional User Data
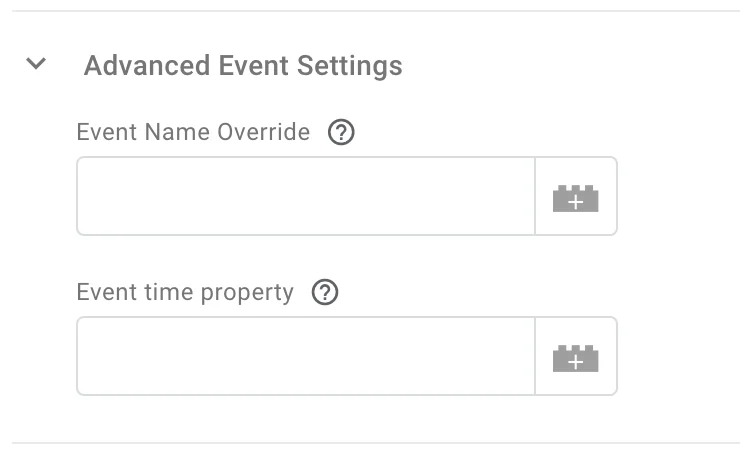
Advanced Event Settings
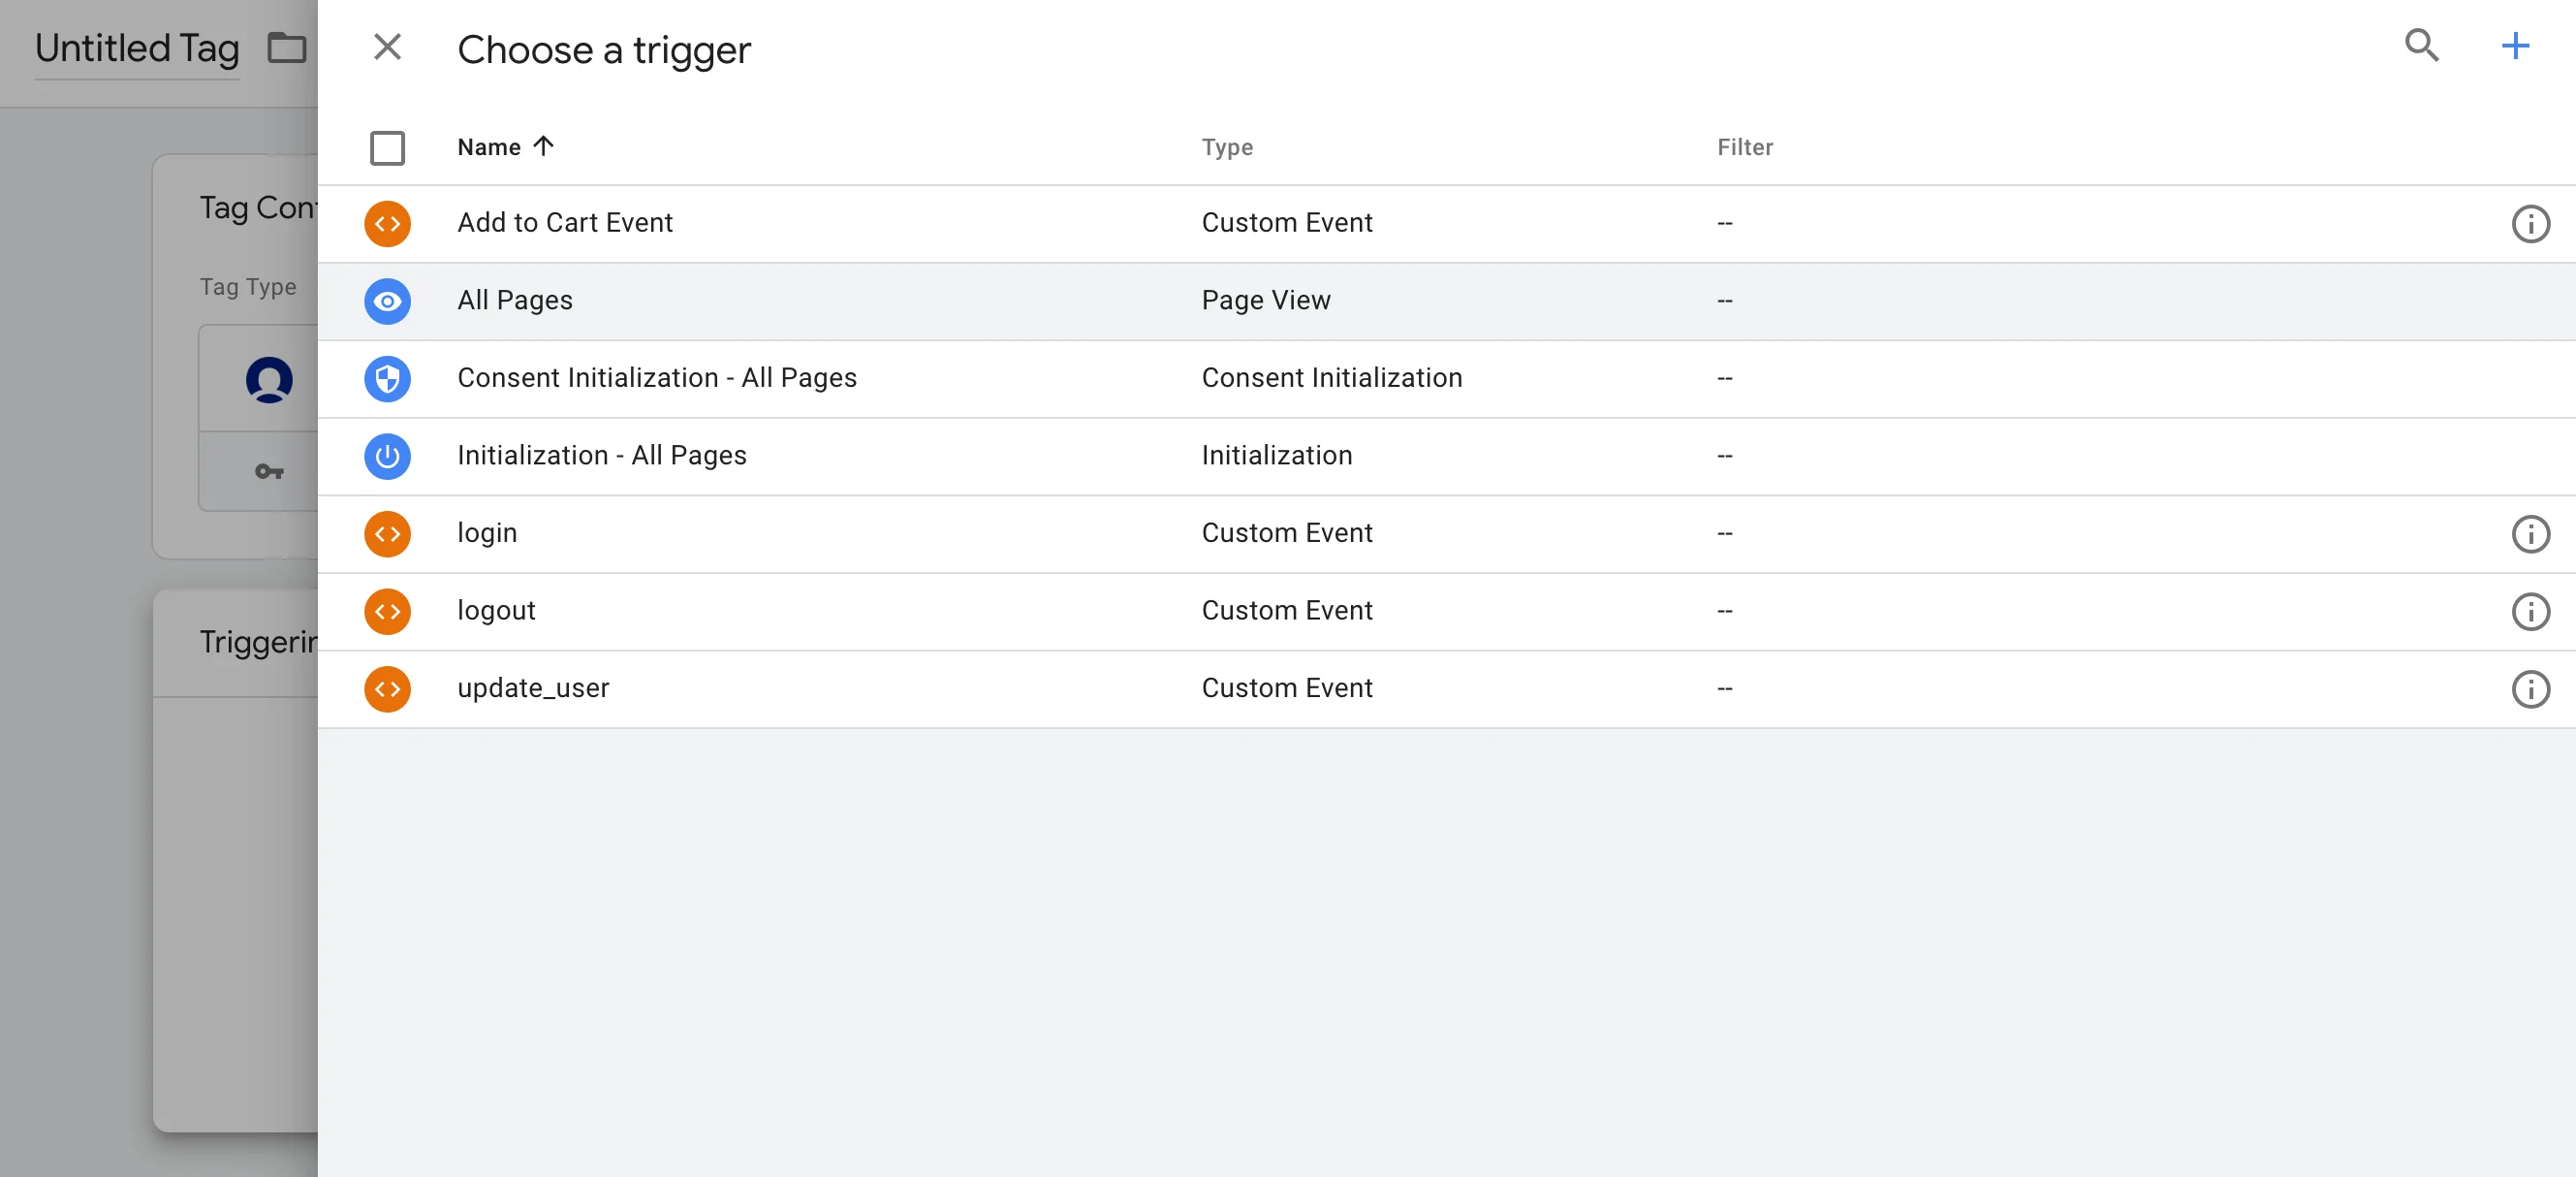
Step 3: Select the trigger condition